How to Accurately Measure Bend Angles in Tube Fabrication
The Common Thread
Regardless of the bending process used to bend a tube, the vast majority of tube fabricators are interested in the quality of the bend angle produced. Bend angle quality often translates into a tolerance surrounding a target angle. Measuring a bend angle is old hat. However, a review of some of the various measuring techniques may shed a new light on an important subject.
Protractors – Making Use of the Basics
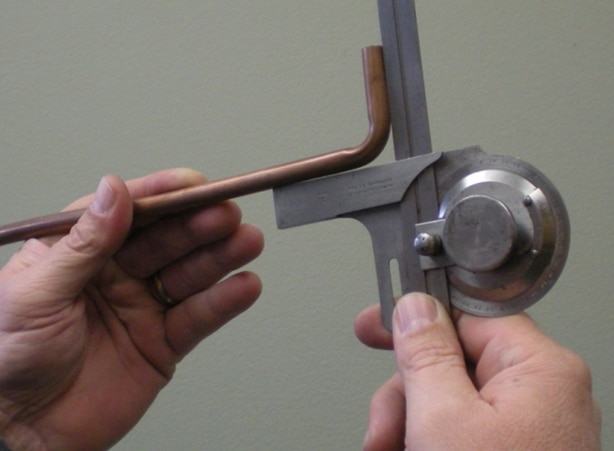
Traditional protractors come in a digital or vernier style. By far the vernier style has been around for many decades and continues to be used to measure bent tubular angles world wide; see below.
Low tech and most often accurate to about ± 0.5°, these devices don’t require a whole lot of calibration. You will also find a vernier type protractor around a brake. They are good for measuring a bent piece of sheetmetal day in and day out. However, unlike sheetmetal, a typical round bent tube can be a little more difficult to hold tangent to a protractor together while at the same time trying to hold the pair up to the light to make an accurate angular read.
Check Fixture – Quick and Reliable
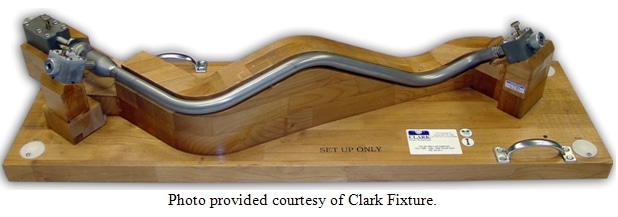
For low and high volume jobs, a simple check fixture usually does the trick. If it drops in the fixture, the overall profile along with the bend angles are considered good; see below.
This is a fast and easy way for “in process” inspection to take place. Another nice aspect of this approach is the relativity low initial investment with respect to the number bent angles you can qualify in a matter of seconds.
The Angle Meister – Accurate Digital Protractor for Tubing
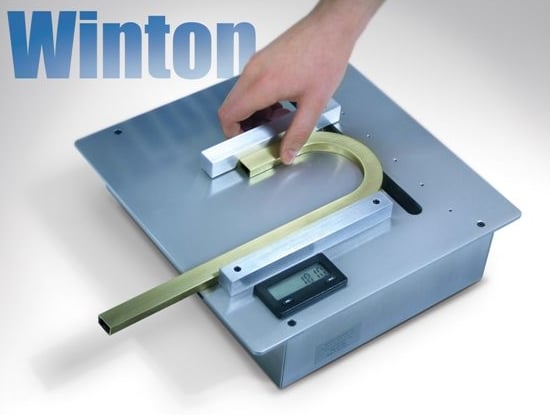
As the detail of bend angle data collected increases, so to does the demand for a more precise bend angle measuring device. There are several factors that continue to drive the need for more exact bend angle measurement data. For example, to determine the exact springback of a tube, the means to measure to ±0.1° is needed. Also, in order to produce detailed Static Process Control (SPC) data, a more precise device is needed to extract the exact bend angle information. One quick way to measure to this level of precision is with an Angle Meister – a digital protractor designed for bent tubing and sheetmetal; see below.
One of the nice features of the digital protractor above is its ability to lay the part on the flat surface plate while then allowing the user’s two hands to then ensure the static arm and the dynamic arm are both located tangent to the part being measured. All during this time the digital display shows the real-time bend angle. This approach is portable, quick and accurate.
The High End Of The Measuring Scale
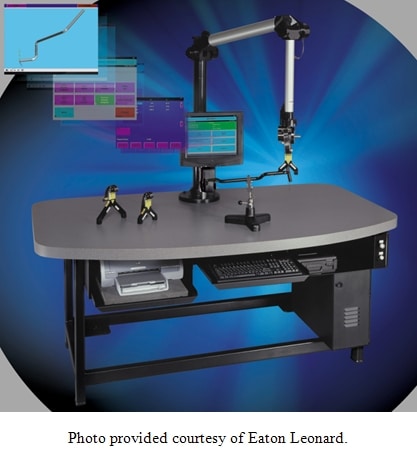
Coordinate measuring machines (CMM) started coming into play back in the 1980’s; see below.
These devices are excellent for taking a look at the bend angles as well as the entire tube profile. Most CCM today make use of a non contact probe. Thus probe the part in various locations and a computer model of the actual part along with how it compares to the tolerance envelope is then displayed on a computer screen. A CMM is intended to produce a significant amount of profile data including the bend angle information. If you are looking for bend angle information only, then this approach may be too much horsepower. On the other hand, this approach has the ability to probe in numerous bent angles and then quickly display the results in digital format.
Choosing the right device for inspection must take into account budget, level of inspection data needed and available time allowed for bend angle verification. It is not always a straight forward decision.

George Winton, P.E. designs and builds CNC tube fabrication equipment for Winton Machine in Suwanee, GA. He can be reached at gwinton@wintonmachine.com or 888.321.1499.
Related Documents
About the Machines We Build
All of our semi-rigid coax and tube fabrication machines at Winton are designed, manufactured, and tested in-house. We have a large line of standard products as well as the ability to engineer the best solution for our customer’s needs. Our experienced sales staff makes sure that our customers can justify their capital equipment investment by offering a solution that is exactly what they need in order to manufacture their parts. Please contact us today to discuss your project.


